Some History:
Once Upon a Time could be called the mother of all crossover Disney fanfictions. Love it or hate it, you do have to give the show credit for how creatively it's been taken the well known Disney characters and incorporating them into the same universe and our world and retelling their stories for a new audience.
Regina is the Evil Queen from Snow White and now, in the town of Storybrooke, she is the major and waffles between her good and evil side. Back when I watched the show Regina had the most fabulous wardrobe and I even considered cosplaying a couple of her outfits. For this commission in particular, here's the jacket that was chosen.
Regina is the Evil Queen from Snow White and now, in the town of Storybrooke, she is the major and waffles between her good and evil side. Back when I watched the show Regina had the most fabulous wardrobe and I even considered cosplaying a couple of her outfits. For this commission in particular, here's the jacket that was chosen.


Making the Jacket:


Luckily, with the popularity of cosplay going around, finding a pattern for the jacket wasn't that hard at all. I ended up choosing McCalls M6818 as my base with minor changes to make it fit what I wanted. The pieces were easy to follow and created the billowing affect at the back of the jacket that I wanted to duplicate. I also ironed out with the lovely lady who commissioned it exactly what she wanted and we settled on a single jacket matching the picture with feathers attached on the back and she'd be gathering the rest of the pieces on her own (mostly because corsets and pants are not something I tend to offer commission wise.)
Also I found this amazing houndstooth fabric that worked perfectly!


Also, put an extra thick layer of interfacing in the collar so that it could stand up like this if needed and retained it's shape for future wear.


Also I found this amazing houndstooth fabric that worked perfectly!

Making the jacket completely to the pattern, here's how it came out. It came out about right, but as you can see from the pictures above, the front is all wrong for the specific jacket, so now it was time to do some pinning and editing. Also, the collar that we wanted didn't really exist in the pattern, so I had to make my own. Using a piece of orange scrap fabric, I created the extra piece I needed while it was on the dress form.


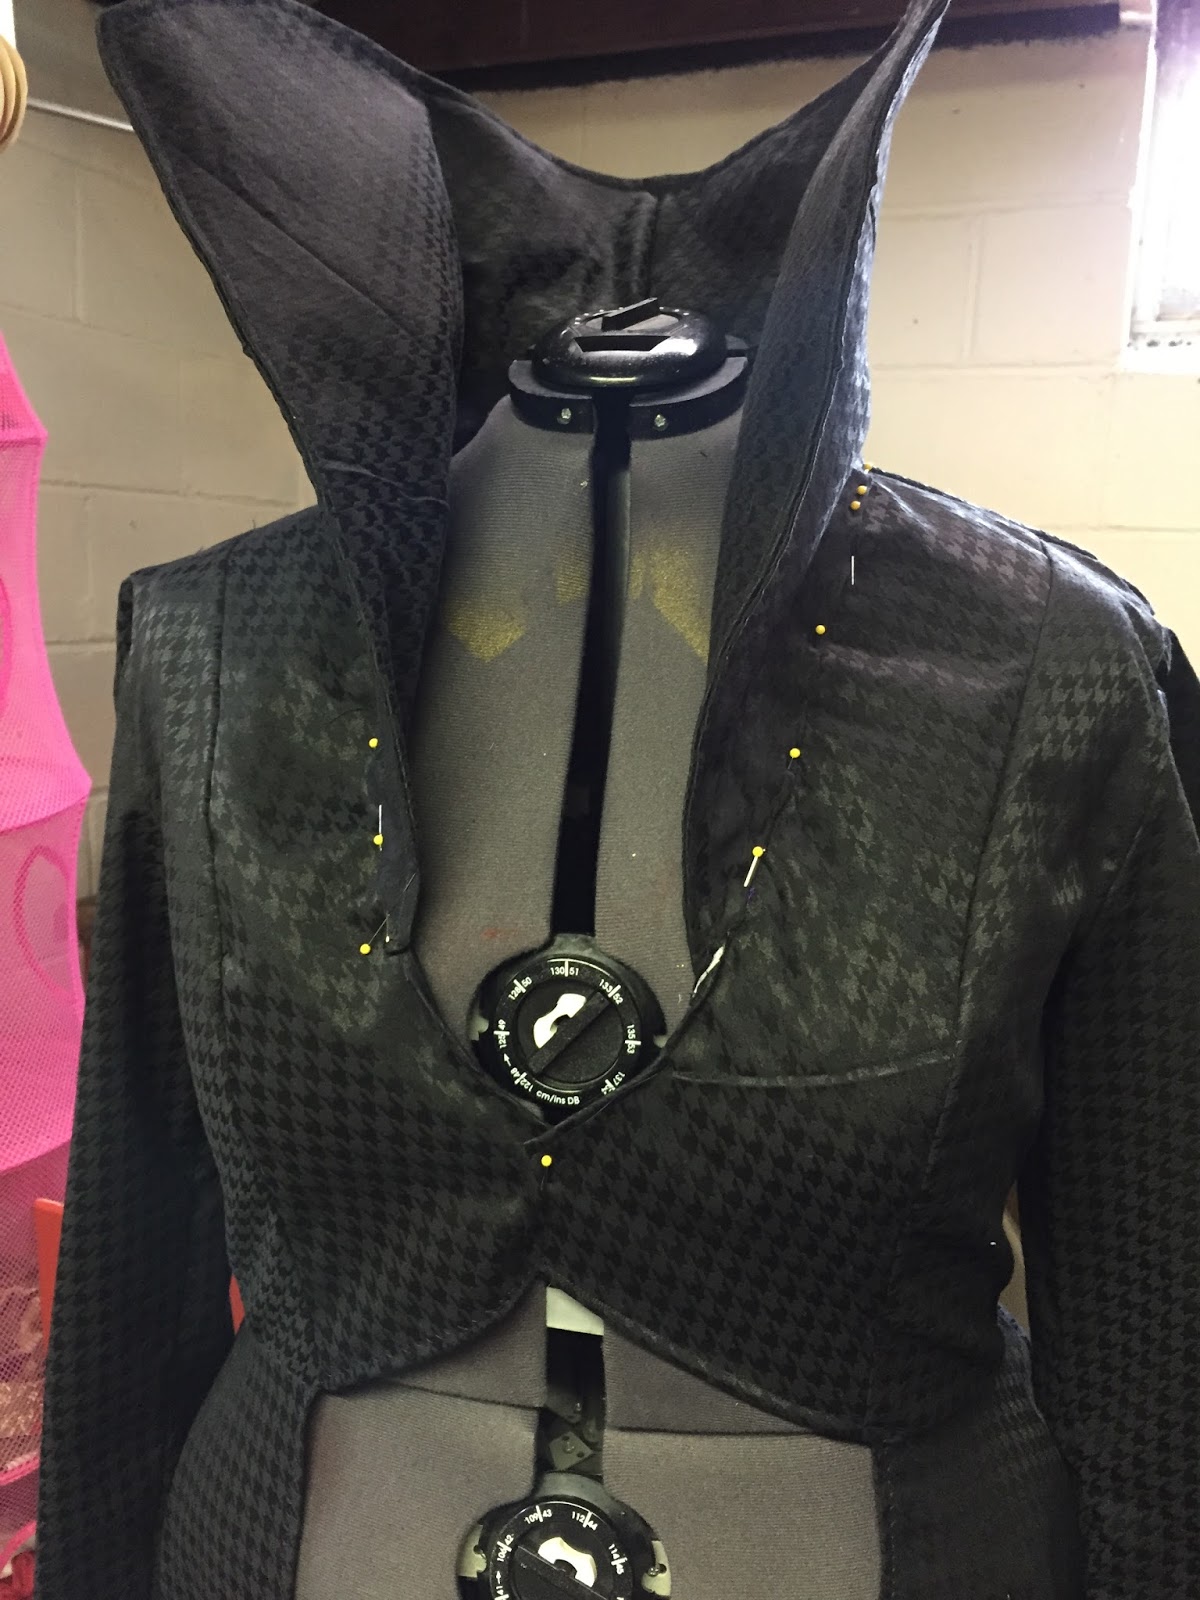

And we have the finished jacket- almost! Now, time to put in all my pins for where the feathers will go and so I know how many pieces to create.


The little feathers were created with thread, individual feathers and a feather boa. I dissected it with scissors as needed and hand sewed each feather onto the back to create the desired effect. I also threw in a few extra with the order, just in case there's wear and tear in the future. (The most fun was letting the cats play with the scraps, lol!) Why a feather boa? It meant that several of the feathers were already attached and it actually cut my work in half so I didn't need to sew together little bundles of feathers - I only needed to add the red ones.

Finished Product
And finally the jacket and is finished and mailed out! Awesome part? Immortal Spark Cosplay informed me that she has a forest behind her house she was already planning to take pictures in. The below images are shared with her permission and are some of the test shots for how the jacket would look with the pieces she'd already assembled. Please take the time to check out her page as well!


An AWESOME evil queen is born!!
Check out Immortal Spark's Cosplay page!!
Check out Immortal Spark's Cosplay page!!
If you'd like to commission me for a dress or have any questions on how I make these pieces, please send me an email or message me through my etsy store.
No comments:
Post a Comment